SafeNet Authentication Client is an essential tool when it comes to managing the digital certificates issued by your Certificate Authority (CA), particularly for code signing purposes. SafeNet provides added protection such as user authentication, OTP tokens, etc. for hardware tokens like Hardware Security Module (HSM), facilitating secure storage of private keys and digital certificates for code signing.
The fact that you’re reading this article may be because you have just received your digital code signing certificate from your CA and are ready to sign a software application, or perhaps you are simply reading this to learn about this tool. The article will guide you in both ways in the process of downloading, installing and using the SafeNet Authentication Client on Windows, Mac, and Linux operating systems.
How to Download SafeNet Authentication Client
Before moving ahead with the installation, you must download the correct version of the SafeNet Authentication Client based on your Operating System and its architecture.
-
For Windows
For Windows OS, downloading & installing the SafeNet Authentication Client is straightforward. One thing you should know about is if your OS Architecture is 32-bit or 64-bit and accordingly you should install the software version. The below zip file link contains both the 32-bit and 64-bit versions.
-
Download: https://www.digicert.com/StaticFiles/Windows_SAC_10.9_GA.zip (Latest)

-
-
For Mac
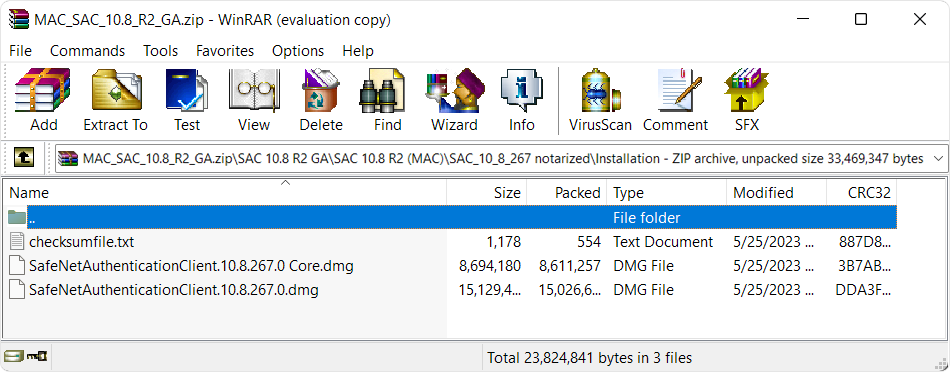
For Mac OS, the download zip file link contains a DMG file that needs to be mounted on your device for installation.
-
Download: https://www.digicert.com/StaticFiles/MAC_SAC_10.8_R2_GA.zip (Latest)

-
-
For Linux
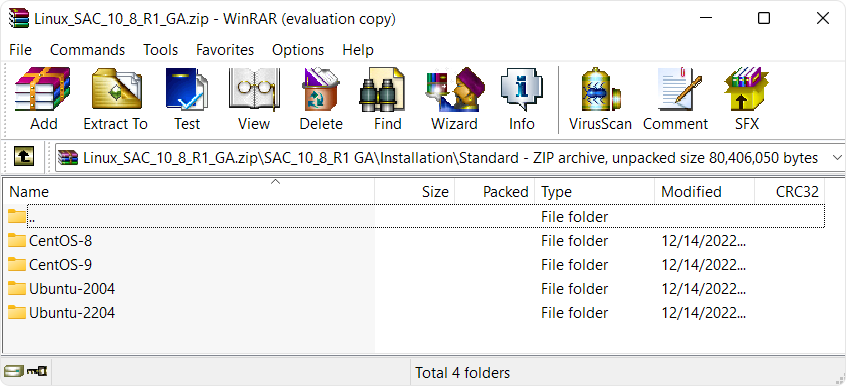
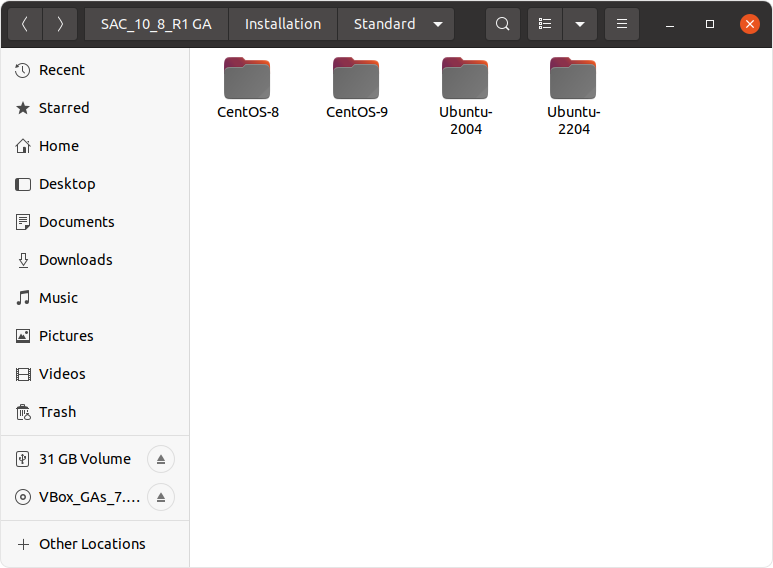
For Linux OS, the download zip file link contains packages for both RPM and DEB based distributions under CentOS and Ubuntu folders respectively.
If you are using RHEL, Fedora, openSUSE or CentOS then go ahead with the .rpm package located inside the CentOS folder. However, if you are on a Debian based distribution such as Ubuntu, Mint or Kali then go ahead with the .deb package under the Ubuntu folder.
-
Download: https://www.digicert.com/StaticFiles/Linux_SAC_10_8_R1_GA.zip (Latest)

-

How to install the SafeNet Authentication Client
Now that you must have downloaded the right version of SafeNet Authentication Client depending on your operating system, let’s see how you can install it on your system.
-
Steps for Installing SafeNet Authentication Client on Windows
- First of all, locate your downloaded .zip file. In most cases, this can be found in the “/Downloads” folder.
-
Unzip the .zip file and extract the files to a new folder.

- After the file is unzipped, move to “Windows_SAC_10.9_GA\SAC 10.9 GA\Msi” path and choose either x32 or x64 folder version based on your architecture.
-
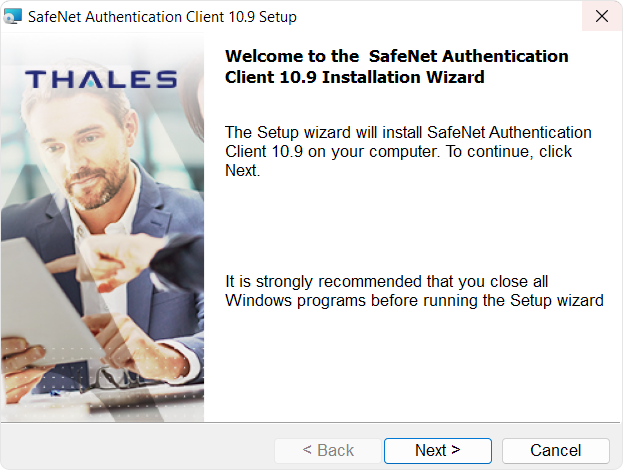
Double click on the .msi available inside the folder and your setup wizard should start.

- Click the “Next” button on the wizard to start the installation process.
-
Accept the license agreement of end user and click “Next”
-
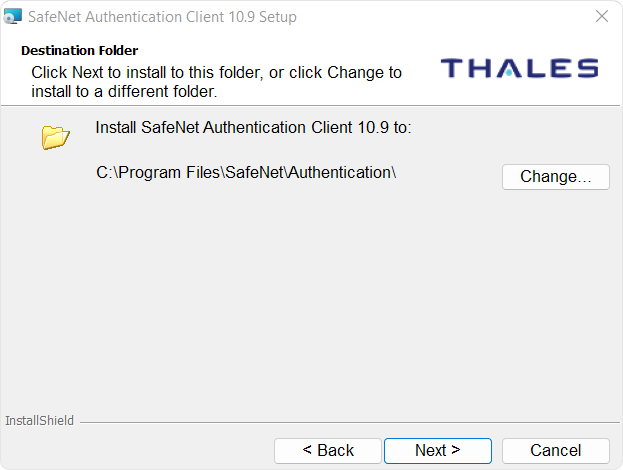
On the next screen, select the installation location or keep it as it is.
-
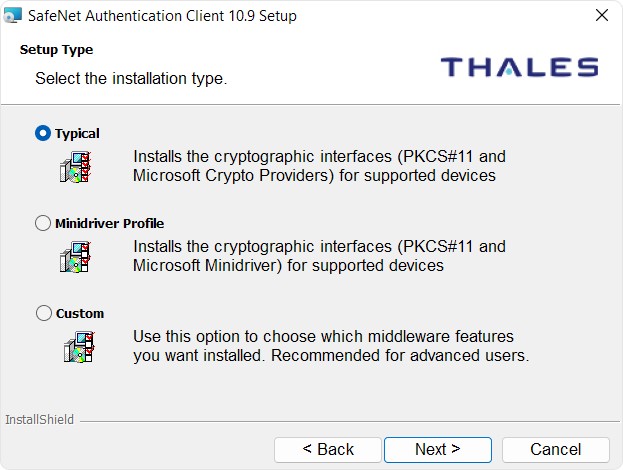
Select the “Typical” Installation type.
-
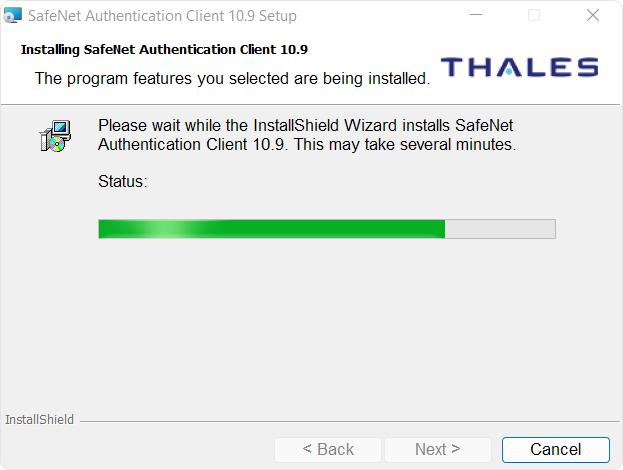
Now, on the ready to begin installation screen, click on Install to start with the actual installation. Make sure to accept the “User Access Control” dialog box if prompted.
-
When installation is completed, Click on Finish to close the wizard.
-
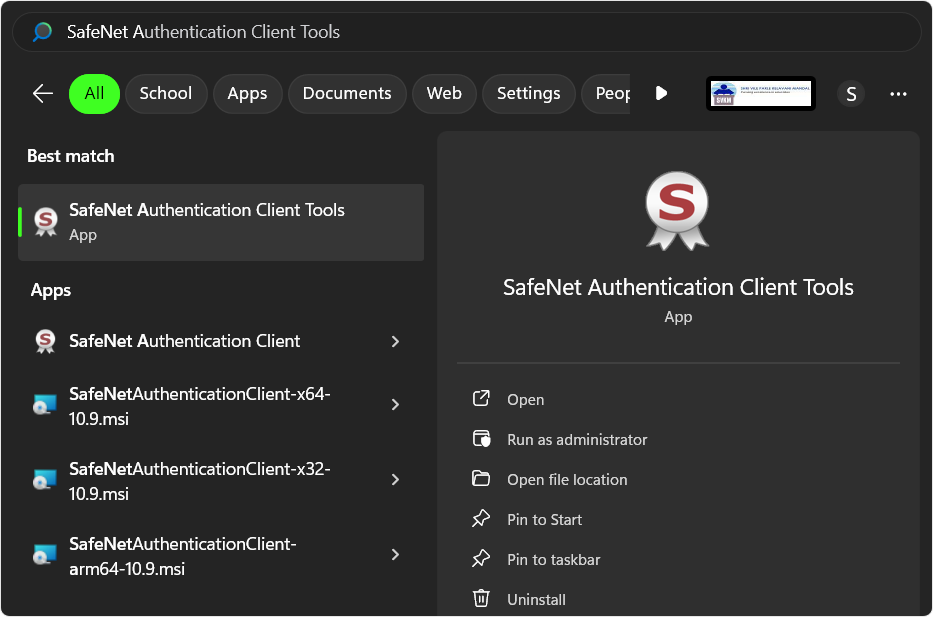
To verify if the installation was successful or not, Just search for “SafeNet Authentication Client Tools” on your Windows search.

-
Steps for Installing SafeNet Authentication Client on Mac
SafeNet installation on Mac remains similar to windows
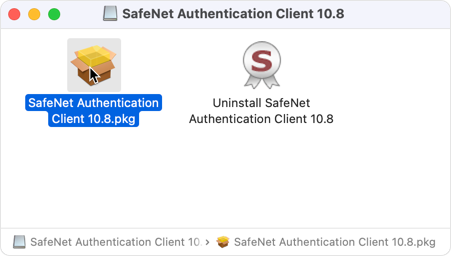
- Once the .dmg file is downloaded, double-click on it to mount it on your machine.
-
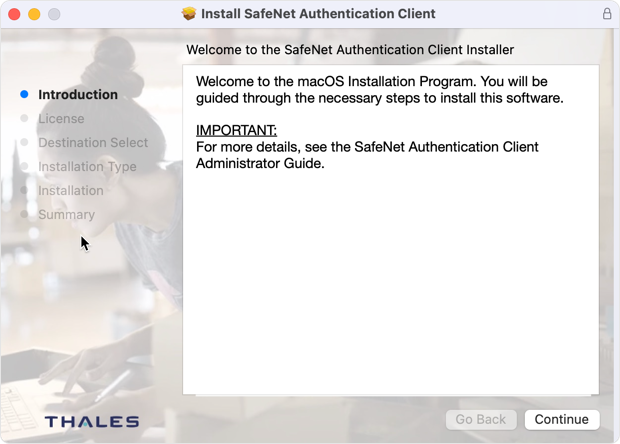
Open the mounted volume “SafeNet Authentication Client.pkg” package to start the installer

-
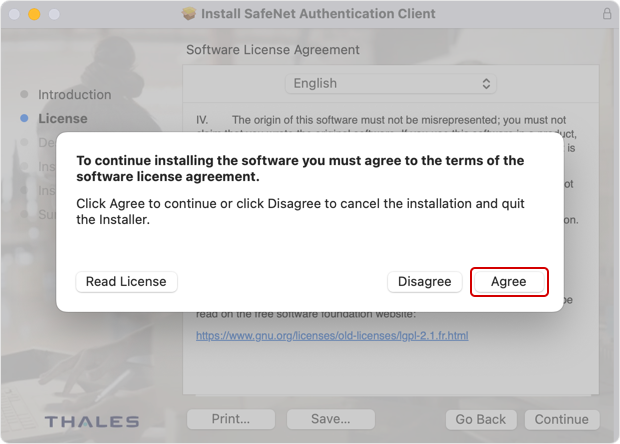
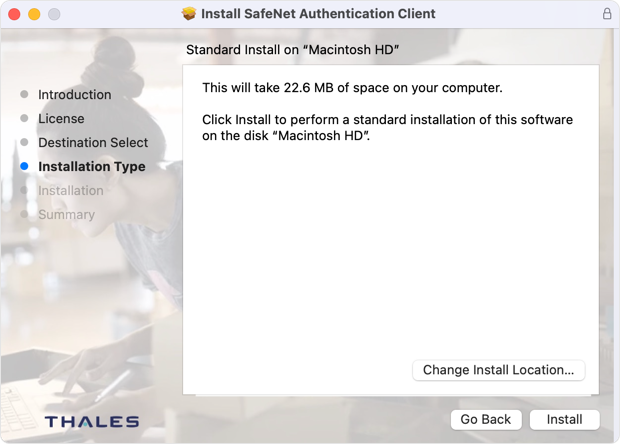
Click on “Continue” and accept the license agreement followed by the installation destination.

-
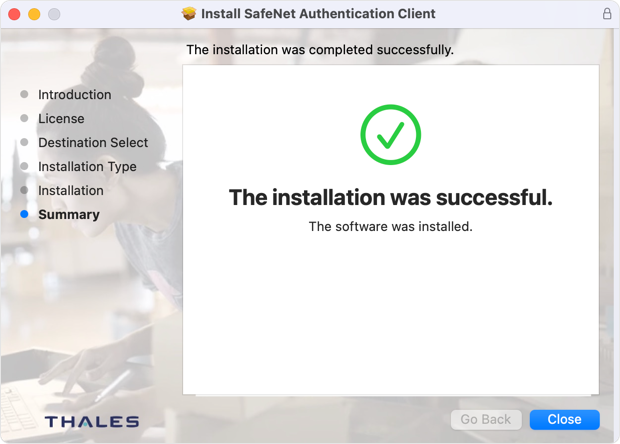
Finally, click on “Install” to begin the process
- If prompted for an admin password enter it to proceed.
-
After your installation is complete you can verify the same by looking for the “SafeNet Authentication Client” app on your system.
-
Steps for Installing SafeNet Authentication Client on Linux
For Linux installation part, we have used the Ubuntu distribution, but the steps remain the same for all other distributions.
- For the first step, locate your downloaded .zip file. You can find that in “/Downloads” folder.
- Just as in Windows Unzip the .zip file and extract files to a new folder.
-
Now we will move to the “Ubuntu-2204” folder located at ‘“Installation/Standard” path.

-
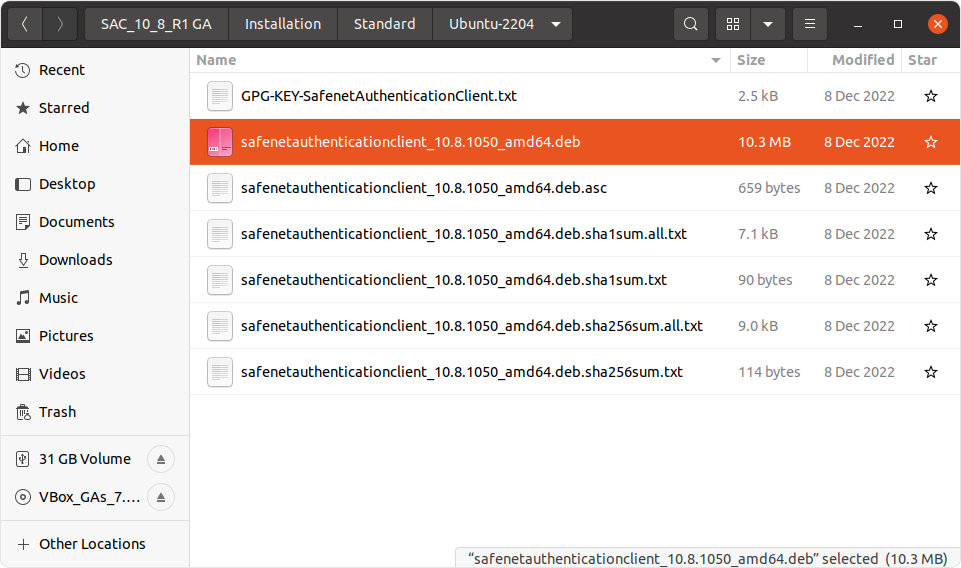
You can now see a .deb file that needs to be installed, to start the installation process.

-
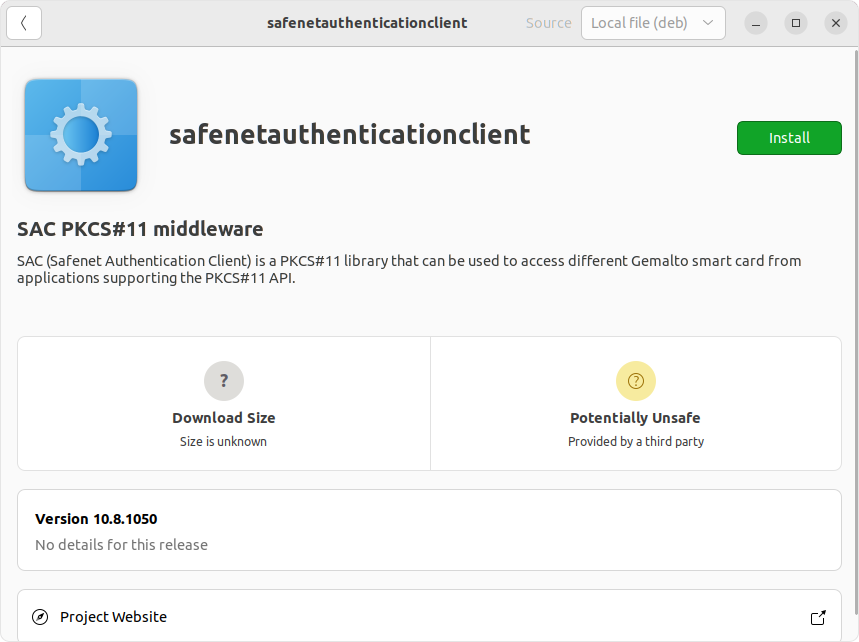
Once you open the .deb file, you will be shown an installation screen. Click on the “Install” button to proceed.

- If prompted, authenticate yourself with the root password.
-
Once the installation is complete, run the below command to start and set up your SafeNet client by following the on-screen process.
safenet-auth-client


How to use Code Signing Certificate with SafeNet Authentication Client
After you have successfully installed the SafeNet Authentication Client on your machine, here’s how you can digitally sign your software application on Windows using a code signing certificate.
-
Ensure the Certificate is on the Hardware Token
- Insert your hardware token containing the code signing certificate into your USB port
-
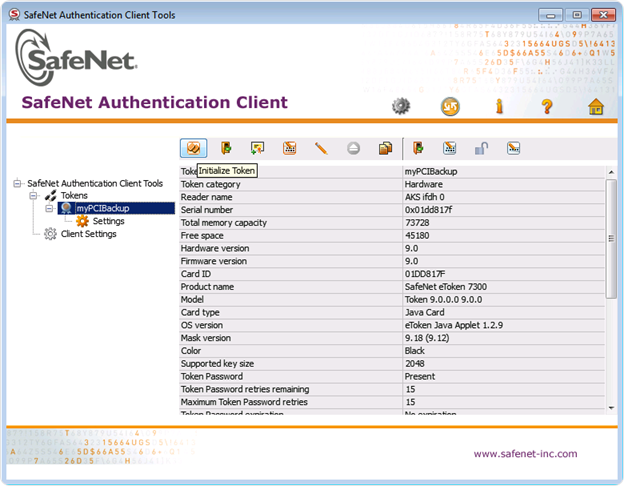
Once inserted, open up your SafeNet Authentication Client and verify that the certificate is recognized. If it’s not visible, make sure the hardware token is properly inserted and any device drivers prompted by Windows are installed to make sure Windows recognizes the hardware token.

-
Prepare Code Signing Tool
Before using the hardware token, it needs to be initialized. To do this
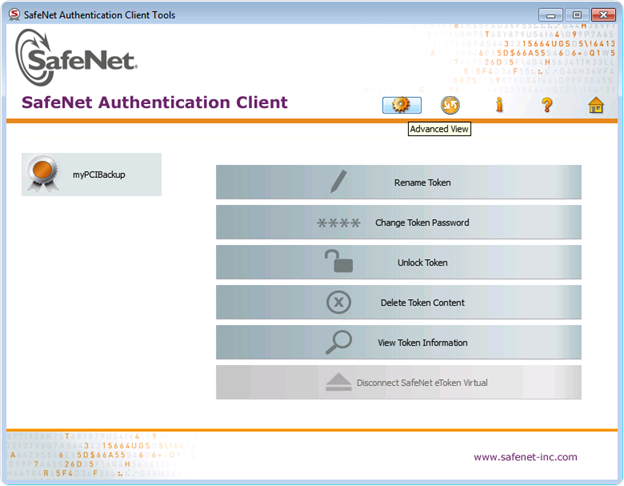
- Click on the “Advance View” icon
-
Now under the “Tokens” dropdown menu select the Token that you want to initialize and click on the Initialize Token button.
-
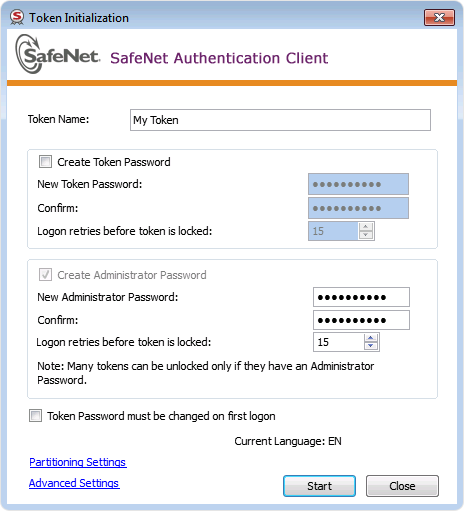
On the initialization dialog box, change the Token Name and set a strong Password (Remember this password as it will be required during code signing)

-
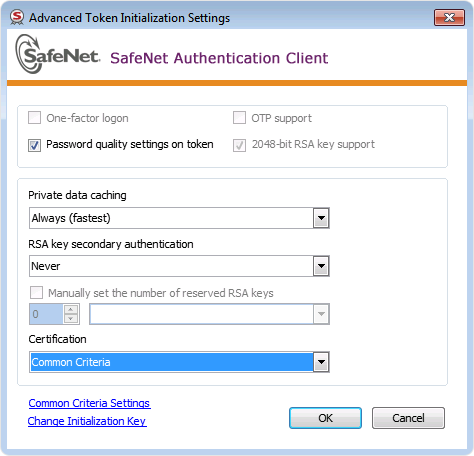
Additionally, you can use the “Advanced Settings” option to ensure the certification type matches the type of your token.

-
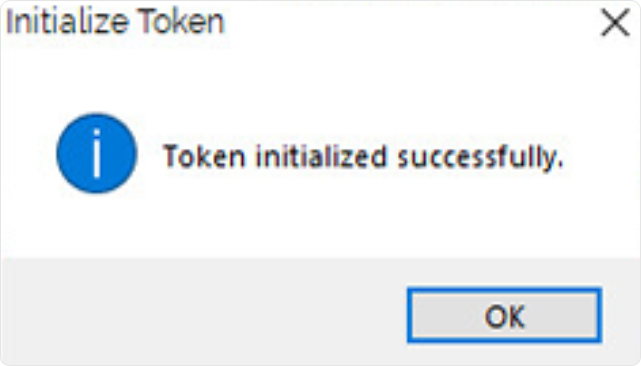
After this, you can click the “Start” button to start the initialization process. Once completed it will show a success message.

-
Sign the Code Using the Certificate
Once the code signing tool is all set and ready, we can now proceed to the actual code signing part. To sign a software application in Windows we need a Windows utility tool called SignTool. This can be installed by downloading the Windows SDK package (Download: Link). This SDK package contains the SignTool. After SignTool is installed, follow the below steps
- Open your command prompt as Administrator to use SignTool without any interruptions
- Locate the SignTool executable file in your system. This is typically found at “C:\Program Files (x86)\Windows Kits\10\bin\10.0.26100.0\x86\signtool.exe”
-
Run this command to digitally sign your software application. Make sure to change the CAtimestampserver URL to your own CA’s timestamp server URL.
signtool sign /tr http://CAtimestampserver.com /td SHA256 /fd SHA256 /v "path\to\yourfile.exe"
-
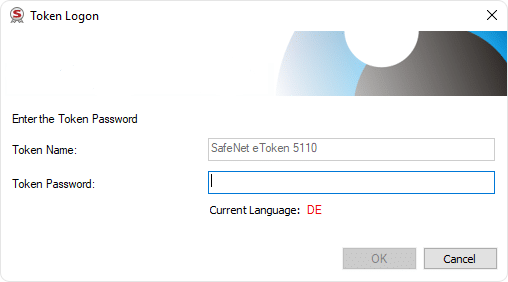
When you run the command, you will be prompted with the SafeNet Authentication Client dialog box to authenticate the action by entering the password (Enter the password you had set earlier)

-
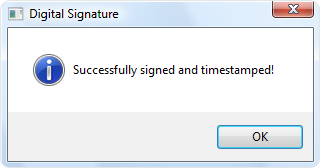
If your software application is successfully signed then you will either see a success message on your command prompt or get a popup dialog box with a success message.

-
Test and Verify
Now that you have successfully signed your software application, it’s important to verify if it was correctly signed. You can simply do this by checking the file properties of the signed software application.
- Locate your signed software application.
- Right-click on the EXE file.
- Select the “Properties” option from the dropdown menu.
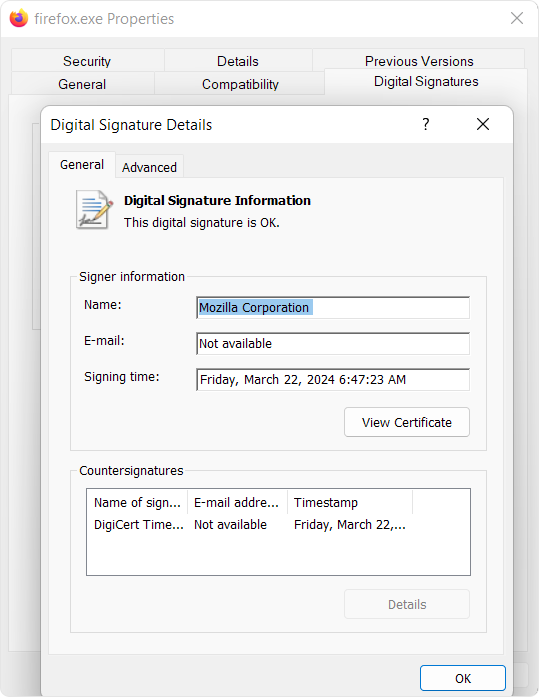
- Go to the “Digital Signatures” tab.
If your software application was successfully signed you can see a message displaying “This digital signature is OK” with other important details regarding the digital certificate.

-
Troubleshooting
-
Issue A: The token is not being detected by the SafeNet Client
Solution: Try reconnecting the hardware token and ensure the necessary device drivers are installed which are prompted by the Windows operating system.
-
Issue B: Invalid PIN or password when signing the code
Solution: Double check if the PIN or password you are entering is correct, if the issue persists change the password from the SafeNet Authentication Client.
-
Issue C: Timestamping fails during the code signing process
Solution: Make sure you refer to your CA documentation to obtain the correct timestamp server URL. Try verifying the URL separately by doing a PING test on the URL.
-
Conclusion
SafeNet Authentication Client is a powerful tool that provides secure management for digital certificates and ensures that sensitive operations like code signing are secured with strong authentication mechanisms. By following the steps given above you can install the SafeNet Authentication Client for your desired operating system and manage all your digital certificates while maintaining the authenticity and integrity of your software and application packages.
Related Posts:
