A Complete Guide to Install SSL certificate on SonicWall SSL VPN
A SonicWall SSL VPN offers an easy to use VPN (virtual private network) solution that provides a safe and dependable remote access to corporate assets via broadband, Wi-Fi, and Dial-up connection. In this article, we will reveal information about the process of installing an SSL certificate on SonicWallSSL VPN.
Use the below instruction to install your SSL Certificate.
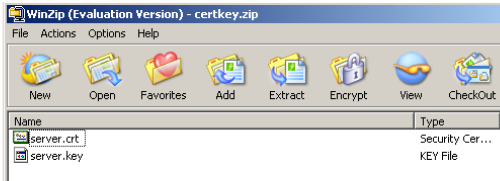
- The CA (certificate authority) sends an SSL certificate in the email, which is included in a zip file. Just download the zip file and extract it to the server directory. Create a new zip file named “certkey.zip” and insert both files “server.crt” and “server.key” into a specific folder.
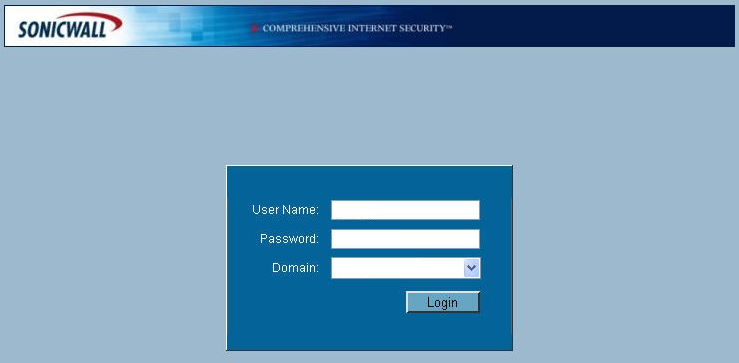
- Login to the SonicWALL VPN SSL appliance portal.
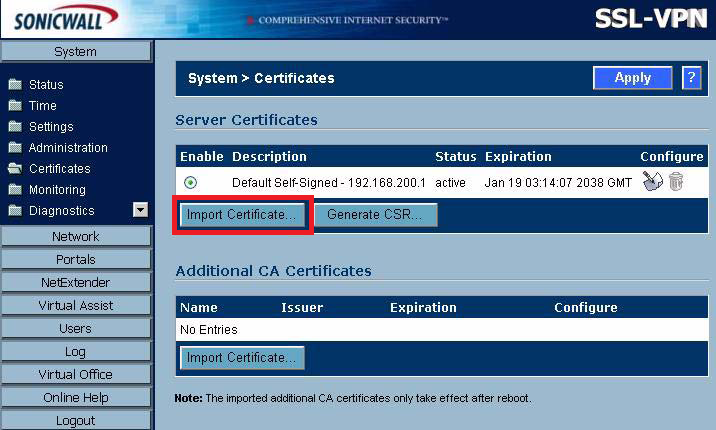
- Now, browse system>certificates and click on “Import Certificate”
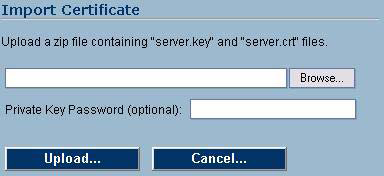
- In the pop-up window, click on “Browse” button and find server.zip file you received in email. Finally, click on “Upload” button. After that, the certificate will appear in the certificate list on the system> certificate pages.
- Set up your SSL Certificate:
- Browse the System > Certificates page, in the Server Certificates section, on the right of your SSL Certificate indicating “pending request”, click the Configure icon.
- You will be asked to enter the password that you created during CSR generation.
- Now, Click on Submit button.
- Apply necessary changes:
- Again browse the System > Certificates page and in the Server Certificates section, select the certificate that you want to make active.
- On the System > Certificates page, click Apply button.
- Restart your device.
- To restart your device, expand the table System>certificates>Restart.
- Installed of an SSL Certificate is completed.


